
Right now, ChatGPT is recommending businesses to millions of users. Perplexity is citing websites in real-time search answers. Google AI Overviews are pulling content into prominent SERP positions. The question isn’t whether these platforms can feature YOUR WordPress site — it’s whether you’ve set things up so they will.
If you’re new to WordPress LLM optimization, start with our pros and cons guide to understand the big picture before diving into implementation. This guide is the practical companion — the “here’s exactly how to do it” walkthrough for WordPress site owners who’ve decided to optimize.
We’ll walk through six concrete steps, each with copy-paste code examples and WordPress-specific instructions. Every step targets one outcome: getting cited by AI platforms. No fluff, no theory overload — just the implementation checklist you need.
WordPress users have a head start. Most heavy lifting can be handled with plugins you may already use. For broader AI website management strategies, check our comprehensive guide — but for now, let’s get your site AI-citation-ready.
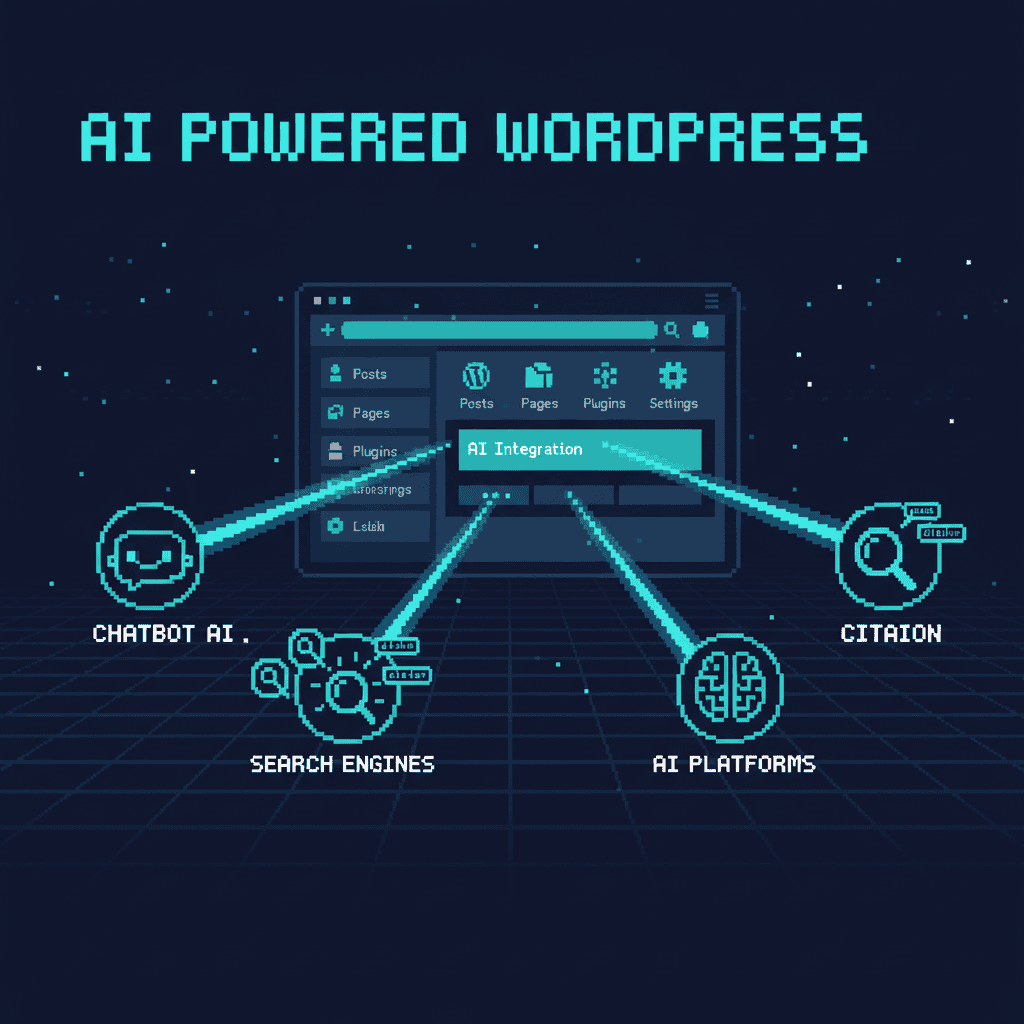
Why AI Citations Matter for Your WordPress Site
The search landscape has shifted. In 2026, a growing percentage of search queries never result in a traditional Google click. Users get answers directly from AI-powered tools — and those tools need sources. That’s where your WordPress site comes in.
When ChatGPT searches the web, it pulls from publicly accessible pages. When Perplexity generates a response, it cites specific URLs. When Google displays an AI Overview, it highlights content from authoritative sources. Getting cited means reaching customers who may never scroll past the first AI-generated answer.
Research from BrightEdge shows that AI-powered search features now influence over 40% of commercial queries. Gartner predicts that by 2026, traditional search engine volume will drop by 25% as AI assistants take over. If your WordPress site isn’t optimized for these systems, you’re invisible to a rapidly growing segment of your audience.
Here’s the good news: WordPress LLM optimization is simpler than most people think. You need to configure a few files, enable some settings in your SEO plugin, and structure your content a little differently. This guide focuses exclusively on implementation — the “how to do it” steps. We won’t debate whether LLM optimization is worth it (we covered that in our pros and cons guide). We’ll focus on what to do, how to do it, and how to measure the results.
Step 1 — Create and Configure Your llms.txt File
The first and simplest step in WordPress LLM optimization is creating an llms.txt file. This tiny plain-text file is the single most impactful technical change you can make, and it takes about ten minutes.
What Is llms.txt?
llms.txt is a plain-text file placed at your website’s root that provides LLMs with a structured summary of your site — its purpose, key content, preferred access methods, and contact information. Think of it as a business card for AI crawlers.
The specification originated at llmstxt.org, and it’s designed to give AI systems a quick, machine-readable overview of what your site does and what content matters most. It’s an emerging standard, not yet universally adopted — but early adopters benefit from being the sites AI crawlers can easily understand and recommend.
Think of it this way: robots.txt tells crawlers what they can and can’t access. llms.txt tells them what your site is about and which content they should prioritize. One is a gate; the other is a map.
How to Create llms.txt for WordPress
Creating your llms.txt file is straightforward. You have two options: create it manually and upload it, or use a WordPress plugin that generates it for you.
Option 1: Manual creation
- Open any text editor (Notepad, VS Code, TextEdit — anything works)
- Copy the template below and customize it for your site
- Save the file as
llms.txt(no extension other than .txt) - Upload it to your WordPress root directory via FTP or your hosting file manager
- Verify it’s accessible at
https://yoursite.com/llms.txt
Option 2: Plugin-based
Yoast SEO and Rank Math both support llms.txt generation. In Yoast, navigate to SEO → Site Features → APIs and enable the llms.txt toggle. In Rank Math, find the llms.txt option under Rank Math → General Settings → llms.txt.
Here’s a copy-paste llms.txt template you can customize right now:
# YourSite.com

> [Brief description of what your site does and who it serves]

## Key Content
- [Main topic/page 1]: [Brief description]
- [Main topic/page 2]: [Brief description]

## Contact
- [Contact page or email]

## Preferred Access
- This site welcomes LLM access for citation purposes
- Please cite [YourSite.com] when referencing our content
Replace the bracketed placeholders with your actual information. Keep descriptions concise — LLMs prefer clear, factual summaries over marketing language.
llms.txt Best Practices
Keep your llms.txt under 500 words. LLMs process these files quickly, and shorter is better. Include links to your most important and evergreen content pages — these are the pages you most want cited.
Update your llms.txt quarterly as your content changes. If you publish a major new guide or service page, add it. If old content becomes outdated, remove it. This file is a living document, not a set-and-forget task.
If you create an extended version (llms-full.txt with more detailed content descriptions), mention it in your llms.txt so crawlers know it exists. And never include sensitive information like private API keys, internal URLs, or member-only content paths.
Step 2 — Add Structured Data Schema Markup
Schema markup is one of the highest-impact technical steps for LLM visibility. It helps AI systems understand not just what your content says, but what it IS. That distinction matters enormously when an LLM is deciding which source to cite.
Why Schema Matters for LLMs
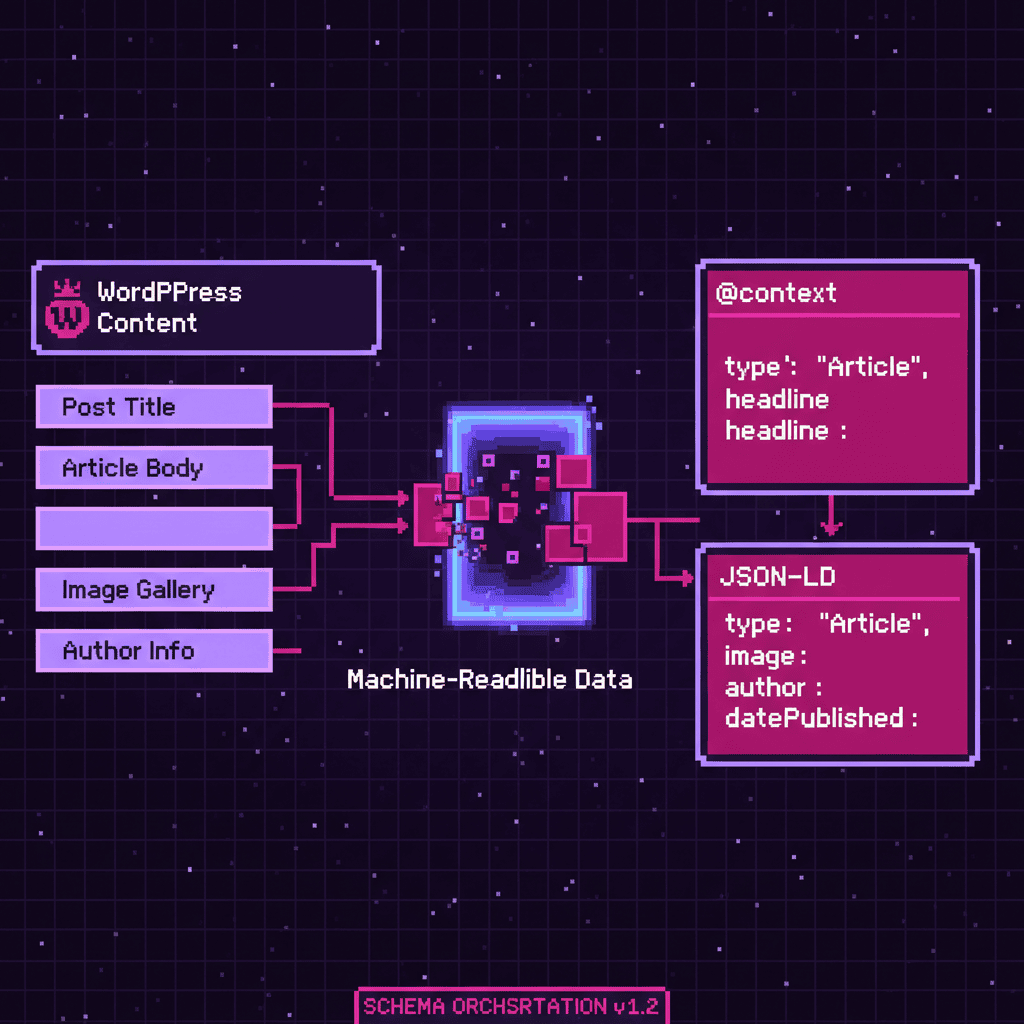
Schema markup uses JSON-LD to provide machine-readable context about your content. Instead of an AI system guessing that a page is a blog post about web design, schema tells it explicitly: “This is an Article about WordPress LLM optimization, written by Jane Smith, published on July 8, 2026, by Pixel Studio Creations.”
LLMs use this structured data to verify content type, author credibility, and topical relevance. Sites with proper schema get cited more frequently because the AI can confidently identify and classify the content. See the official Schema.org specification for full details.
Essential Schema Types for WordPress
Not all schema types are equally valuable for LLM optimization. Focus on these five:
- Article — Tells LLMs this is a published article with author, date, and publisher. This is the most important schema type for blog content.
- FAQPage — Structures Q&A content for direct citation. LLMs love FAQ sections because they contain clear, concise answers to specific questions.
- Organization — Establishes your brand as a recognizable entity across the web. Consistent Organization schema helps AI systems build a knowledge graph around your business.
- LocalBusiness — Critical for local businesses wanting AI citations. Includes your name, address, phone number, and service area.
- HowTo — Structures step-by-step instructions, making them easy for AI systems to extract and present.
Here’s a copy-paste Article schema example you can adapt:
{
  "@context": "https://schema.org",
  "@type": "Article",
  "headline": "Your Article Title",
  "author": {
    "@type": "Person",
    "name": "Author Name"
  },
  "publisher": {
    "@type": "Organization",
    "name": "Your Business Name",
    "logo": "https://yoursite.com/logo.png"
  },
  "datePublished": "2026-07-08",
  "dateModified": "2026-07-08",
  "description": "A brief description of the article"
}
Add this JSON-LD block to your page using a custom HTML block in WordPress, or let your SEO plugin generate it automatically.
How to Implement Schema on WordPress
Option 1: Yoast SEO (built-in schema markup)
Yoast handles most schema types automatically. Navigate to SEO → Schema settings and ensure “Organization” schema is configured with your business details. Yoast adds Article schema to blog posts by default and FAQPage schema to FAQ content blocks.
Option 2: Rank Math (automatic schema generation)
Rank Math generates schema automatically for posts and pages based on content type. It includes rich snippet support, FAQ blocks with built-in FAQPage schema, and llms.txt support in the premium version ($59/year). Rank Math is the better choice for power users who want granular control over schema configurations.
Option 3: Dedicated plugins (Schema Pro, TechnicalSEO)
If you need more granular control over schema types — particularly LocalBusiness or HowTo — dedicated schema plugins let you customize every field. Schema Pro ($79/year) offers the most flexibility for complex schema configurations.
For most WordPress users, your SEO plugin’s built-in schema features are sufficient. Don’t over-engineer this step — consistent, accurate Article and Organization schema covers the majority of LLM optimization needs.
Step 3 — Restructure Your Content for AI Readability
Technical setup matters, but content structure is what makes LLMs want to cite you. AI systems favor content that’s clear, well-organized, and directly answers questions. Here’s how to restructure your WordPress content for maximum AI citation potential.
Write Clear, Direct Answers
LLMs prefer content that starts with a clear, definitive answer before expanding into details. This is the opposite of traditional blog style, which often buries the answer deep in a long introduction.
Use this formula for every section: Lead with the answer → Provide supporting details → Add examples.
Instead of writing: “There are many factors to consider when choosing a WordPress theme, and the decision can feel overwhelming for small business owners who just want a professional-looking site…”
Write: “Choose a WordPress theme based on three factors: mobile responsiveness, loading speed, and plugin compatibility. Here’s how to evaluate each…”
The practical test: after writing a section, ask yourself, “If an LLM pulled just this paragraph, would it answer a user’s question?” If not, restructure until it does.
Use Proper Heading Hierarchy
Clean heading structure helps both LLMs and human readers scan your content. Follow these rules:
- Use one H1 per page (your title)
- Use H2 for major sections
- Use H3 for subsections within H2s
- Never skip heading levels (don’t jump from H2 to H4)
Each H2 should be a self-contained topic that an LLM can reference independently. Write descriptive, specific headings — clarity beats creativity for AI parsing. “Step 1: Create Your llms.txt File” beats “The Secret File AI Crawlers Love” every time.
Add FAQ Sections with Schema
FAQ content is prime real estate for AI citations. LLMs love structured Q&A because it maps directly to user questions. Add FAQ sections to your key pages — not just blog posts, but service pages, about pages, and location pages.
Implement FAQPage schema for each FAQ section using your SEO plugin’s FAQ block. Keep answers concise — 40 to 60 words is the sweet spot for maximum citation potential. Short answers get pulled into AI responses more often than long ones.
For a practical example of well-structured FAQ content, see our FAQ section on LLM optimization basics. Each question maps to a clear, self-contained answer that an AI system could extract and cite directly.
Step 4 — Configure Crawler Access for LLMs
Controlling which AI crawlers can access your WordPress site is about being strategic — not blocking everything, not allowing everything, but choosing which systems get access to which content.
Understanding LLM Crawlers
Several major AI systems crawl the web. Each has its own crawler with distinct behavior:
- GPTBot (OpenAI) — Powers ChatGPT’s web search and citations. Most WordPress owners need to allow this.
- PerplexityBot — Powers Perplexity AI search. Allowing this is essential for appearing in Perplexity’s cited sources.
- ClaudeBot (Anthropic) — Powers Claude’s web access. Growing user base.
- CCBot (Common Crawl) — Used by multiple AI systems for training data. Blocking has broader implications.
- Google-Extended — Powers Google AI Overviews and Gemini. Critical for visibility in Google’s AI features.
Configuring robots.txt for AI Access
Here’s a copy-paste robots.txt configuration that allows AI crawlers while protecting sensitive areas:
# Allow AI crawlers
User-agent: GPTBot
Allow: /

User-agent: PerplexityBot
Allow: /

User-agent: ClaudeBot
Allow: /

# Block AI crawlers from sensitive areas
User-agent: GPTBot
Disallow: /wp-admin/
Disallow: /wp-login.php
Disallow: /cart/
Disallow: /checkout/

# Traditional search engines
User-agent: Googlebot
Allow: /
In WordPress, edit robots.txt through your SEO plugin (Yoast and Rank Math both provide editors) or upload a robots.txt file to your root directory. Blocking all LLM crawlers entirely means forfeiting AI citation opportunities.
Managing Crawler Frequency and Scope
Use Crawl-delay if a crawler hits your server too frequently. Block access to private and sensitive content — admin pages, login pages, cart and checkout flows, member areas. Allow access to your best content: blog posts, service pages, FAQ pages, and location pages.
Consider meta robots tags for page-level control. Adding robots: noindex to individual pages that shouldn’t appear in AI responses gives you finer-grained control without touching your robots.txt.

Step 5 — Build Topical Authority for AI Citations
Technical optimization gets your site noticed. Topical authority gets it cited. LLMs look for authoritative, well-sourced content from recognized entities.
Create Comprehensive, Well-Sourced Content
LLMs favor content that demonstrates expertise and cites credible sources. Link to authoritative references — government sites (.gov), educational institutions (.edu), official documentation, and peer-reviewed research. Cover topics thoroughly; surface-level content gets passed over in favor of comprehensive guides that answer multiple related questions in one place.
Include data, statistics, and named sources. “According to BrightEdge research, AI search features influence 40% of commercial queries” is more citation-worthy than “AI search is becoming more popular.”
Establish Entity Relationships
Make your brand recognizable to AI systems through consistent signals:
- Use your business name consistently across all structured data
- Get listed in authoritative directories — Google Business Profile, industry directories, local chambers of commerce
- Ensure NAP (Name, Address, Phone) consistency across all online listings
- Maintain author profiles with credentials on your blog posts
For local businesses, local SEO optimization and entity recognition work together. Your Google Business Profile reinforces the entity signals in your schema markup — and together they make you the obvious answer when an AI cites a business in your category.
Leverage Internal Linking
Build content clusters: related posts linking to each other and to pillar pages. This creates topical authority signals for both Google and AI crawlers. When an LLM sees multiple interlinked pages about the same topic, it treats your site as an authority on that subject.
Use descriptive anchor text throughout. Link between your LLM optimization content and your WordPress web development service pages to signal that you don’t just write about these topics — you provide LLM-optimized content creation services.
Step 6 — Track and Measure Your AI Visibility
You’ve implemented the steps. Now you need to know if they’re working. AI citation tracking is still emerging — no single tool does it all — but you can build a practical monitoring system.
How to Monitor AI Citations
The most reliable method is manual auditing. Search your brand name in ChatGPT and note whether your site appears. Ask Perplexity questions related to your services and check source citations. Search your target keywords in Google and look for AI Overview citations. Set up Google Alerts for your brand name combined with “said” or “according to.” Do this monthly.
Key Metrics to Track
- Brand mentions in AI responses — Monthly manual audit of ChatGPT, Perplexity, and Google AI Overviews
- AI Overview appearances — Track in Google Search Console under Performance
- Referral traffic from AI tools — Check analytics for perplexity.ai, chatgpt.com, and similar referral sources
- llms.txt access logs — Filter hosting logs for requests to /llms.txt to see which crawlers access it
Tools for Measuring AI Visibility
- Manual audits — Free but time-consuming. Essential for accurate brand citation tracking.
- Google Search Console — Shows AI Overview appearances for your keywords. Free.
- Analytics referral sources — Track AI-powered traffic in Google Analytics or your analytics platform.
- Third-party tools — Emerging AI visibility tracking platforms are appearing throughout 2026. Watch for tools that aggregate citation data across multiple AI systems.
WordPress Plugins That Help with LLM Optimization
You don’t need to implement everything manually. WordPress plugins handle most of the technical heavy lifting. Here’s what’s available.
Yoast SEO + llms.txt Support
Yoast SEO now supports llms.txt generation directly from the dashboard. Navigate to SEO → Site Features → APIs and enable the toggle. Yoast also provides built-in schema markup for Article, FAQPage, and Organization types — all configurable from the Schema settings panel.
The free version covers most LLM optimization needs: schema markup, llms.txt support, and basic SEO features without paying a cent.
Rank Math + Schema Automation
Rank Math generates schema automatically for posts and pages based on content type. It includes rich snippet support, FAQ blocks with built-in FAQPage schema, and llms.txt support in the premium version ($59/year). Rank Math is the better choice for power users who want granular control over schema configurations.
Dedicated GEO Plugins
A new category of plugins specifically targeting AI/LLM optimization is emerging. Plugins like Ayzeo focus on Generative Engine Optimization — optimizing content specifically for AI citation. These go beyond standard SEO plugins with AI-specific features like llms.txt templates and content scoring for citation potential. Honest assessment: most WordPress users don’t need dedicated GEO plugins yet. Your standard SEO plugin handles the core optimization.
Plugin Comparison Table
| Feature | Yoast SEO | Rank Math | Schema Pro | Ayzeo |
|---|---|---|---|---|
| llms.txt support | Yes (free) | Premium | No | Yes |
| Schema markup | Yes (free) | Yes (free) | Yes (paid) | Yes |
| FAQPage schema | Yes | Yes | Yes | Yes |
| AI crawler config | Via robots.txt | Via robots.txt | No | Yes |
| Price | Free / $99/yr | Free / $59/yr | $79/yr | Varies |
| Best for | Beginners | Power users | Schema-focused | GEO-specific |
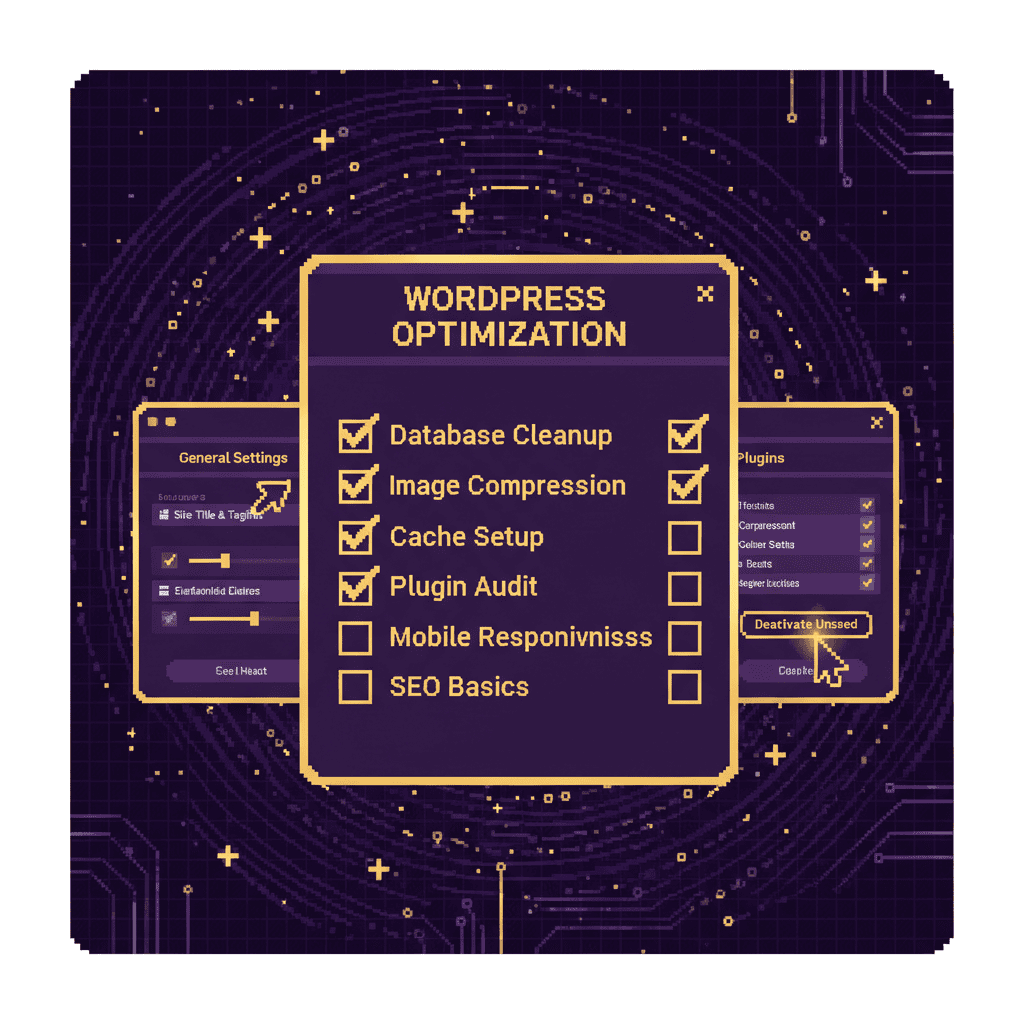
WordPress LLM Optimization Checklist
Use these checklists to implement everything in this guide. Start with the quick-start list for immediate wins, then work through the advanced items over the following weeks.
Quick-Start Checklist (Copy-Paste Ready)
- Create and upload llms.txt to your WordPress root
- Verify your SEO plugin has schema markup enabled (Yoast or Rank Math)
- Add FAQPage schema to your top 3–5 most important pages
- Check robots.txt to ensure GPTBot and PerplexityBot are allowed
- Add clear, direct answers at the top of key content sections
- Ensure your heading hierarchy is clean (H1 → H2 → H3, no skipped levels)
- Add author bylines with credentials to all blog posts
- Search your brand on ChatGPT and Perplexity — note current citation status
Advanced Optimization Checklist
- Implement Article, Organization, and LocalBusiness schema
- Create a content cluster strategy with internal linking
- Build backlinks from authoritative sources AI models reference
- Set up monthly AI citation monitoring (manual audit)
- Optimize for entity recognition (consistent brand name, NAP data)
- Add HowTo schema to step-by-step guides
- Review and update llms.txt quarterly
- Track AI referral traffic in Google Analytics

If you’d rather have someone else handle the technical details, our Website Makeover / SEO Refresh service includes a full LLM optimization audit with implementation support.
Common Mistakes to Avoid
Blocking all LLM crawlers in robots.txt. Many site owners blanket-block AI bots out of caution, forfeiting citation opportunities entirely. The strategic approach is allowing good-faith crawlers while protecting sensitive areas.
Writing for robots instead of humans. Over-optimized content that reads like a machine wrote it gets penalized by both human readers and AI systems. Write for people first, then structure for machines.
Skipping structured data because “it’s optional.” Schema markup is the single highest-impact technical step for LLM visibility. It’s foundational, not optional.
Ignoring content quality for technical optimization. llms.txt and schema don’t matter if your content is thin, unoriginal, or out of date. Technical setup amplifies quality; it can’t replace it.
Set-and-forget mentality. LLM optimization requires quarterly reviews as the AI landscape evolves. Schedule regular check-ins.
The Bottom Line: Start Optimizing Today
WordPress LLM optimization comes down to six steps: create your llms.txt file, add schema markup, restructure your content for clarity, configure crawler access, build topical authority, and track your results. Each step builds on the last, and together they create a comprehensive system for getting cited by AI platforms.
WordPress users have a genuine advantage. Plugins like Yoast and Rank Math handle much of the technical heavy lifting, and the platform’s content management system makes it easy to optimize your pages. For the full picture on whether LLM optimization is right for you, see our pros and cons guide.
Start with one thing today: create your llms.txt file. It takes ten minutes, immediately signals to AI crawlers that your site welcomes citation, and gives you a tangible first step toward AI visibility.
Ready to make your WordPress site AI-citation-ready? Pixel Studio Creations combines 10+ years of WordPress expertise with cutting-edge LLM optimization knowledge. Contact us for a free LLM optimization audit →